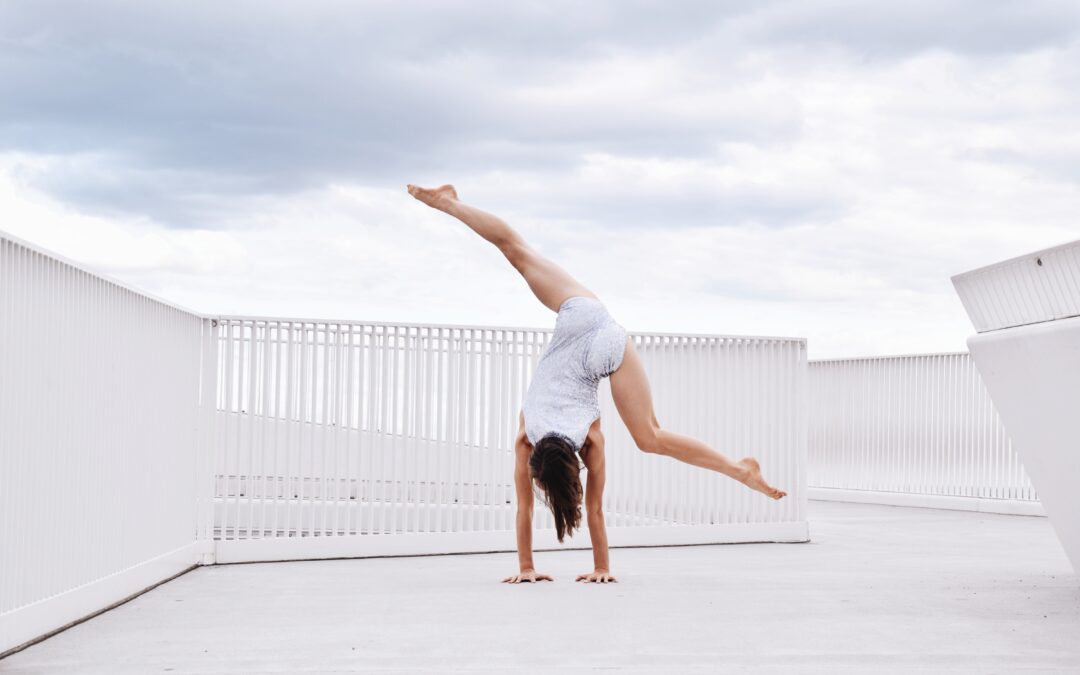
New to yoga and trying to internalize foundations of basic poses? In this blog we have prepared some tips for you. We have chosen 5 poses you are most likely to encounter in a beginners’ class. These poses will create a strong foundation for you to understand other yoga poses. A yoga pose, “asana” in Sanskrit is a state in which there is balance of steadiness and ease. Let’s see how you can merge strength and comfort for these poses!
Easy Pose

Since it creates the bases of all sitting postures, learning how to sit is essential. Although its name is Easy Pose, this pose may not be easy for most beginners, especially if they are used to sitting on chairs or couches, and not on the ground.
To come into Easy Pose:
- You can either sit cross-legged or place one heel in front of the other in front of the pelvis
- Make sure you distribute your body weight evenly between two sitting bones
- Lengthen with the crown of the head towards the sky, sit up straight
- Relax the shoulders and rest the hands on the thighs or knees
To make the pose accessible, consider sitting on a block or a cushion, so that the hips are higher than the knees. If the hips are below the knees, there may be a tendency to round the lower back and it may be harder to sit with a tall spine. Remember that in all sitting postures, you must keep the natural curve of the lower back.
Keeping the natural curve of the lower back is very important especially before continuing with seated forward bends. Folding forward while the lower back is rounded puts unnecessary pressure on the lower back and can be harmful for the joints in the spine. If you find yourself rounding your back, and struggling to sit up straight while you are sitting on the ground -whether wide legged, straight, or butterfly legs-, it means you need to continue with a modification, i.e. elevate the hips with a cushion or blanket.
Cat Pose


Our spine can move in the four directions: it can make flexion -forward bend-, extension -backbend-, lateral bends, and twists. In this blog we will concentrate on the first two.
Start from Table Pose, where hands are directly under the shoulders and knees are under the sitting bones.
- To come into Cow Pose, as you inhale, lift the tailbone up, curve your lower back, open the chest, look to the front or up in between the eyebrows.
- To come into Cat Pose, as you exhale, tuck the pelvis, pull the belly in, round the spine, and release the weight of the head.
As you enjoy these beautiful movements of the spine, make sure to welcome in the basic principle of the breath and movement! You will naturally realize that inhalation itself is a gentle extension of the spine and exhalation is a gentle flexion. As a general principle, we step into poses in which the chest, and front body expands with an inhalation; and we step into poses in which the front body contracts with an exhalation.
In Easy Pose, we have learned that it is of utmost importance not to pressure the lower back by rounding it in sitting postures. In Cat Pose we round the spine intentionally, but since we are not sitting and we are on hands and knees, this movement does not pressure the lower back. Our spine needs flexion as much as it needs extension, but how we do it determines whether it is beneficial.
Downward Facing Dog

One of the most popular yoga poses is Downward Facing Dog! To come into Downward Facing Dog:
- In Table Pose, place the hands a little wider and a little forward, tuck the toes, press the hands especially bases of your index fingers onto the floor, lift the hips up and back
- Rotate the upper legs slightly inward
- Keep the legs and arms straight without locking them -i.e. keep a slight bend in the elbows and knees-
- Keep your core muscles active
- Press the heels towards the floor
- Pull the shoulder blades towards the tailbone
- Keep your head between the two arms
- Distribute your body weight evenly between hands and feet
Feeling confused about the alignment of upper arms and shoulders? Check out Cathy Madeo Yoga’s (2021) Youtube video:
To make the pose accessible you can divide the target areas of the pose into two and practice them one by one. Some of us may have the tendency to round the back while straightening our legs in the beginning. If this is the case and you feel like a nice stretch in the upper body is what you need the most, bend the knees and push your belly towards the thighs to support the lengthening of the spine. You can use this modified version of Downward Dog in your practice or you can focus on the legs. You can work on straightening the legs, heels are welcome to stay off the ground. You can pedal the feet, to bring one heel on the floor at a time.
In the beginning, wrists may feel weak and tender after poses on hands and knees. To protect your wrists, consider starting your practice with a couple of wrist stretches, and while you are practicing poses on the hands, make sure to press the fingertips and bases of index, pinky fingers and thumbs on the floor Saltonstall (2021). Avoid allocating your weight directly into your palms, keep a slight lift in the arch of your hands as Gudmestad (2007) reminds.
High Lunge

Standing poses might be the most accessible pose group for beginners. They have the potential of correcting our posture, strengthening our bond with the earth, and developing a strong foundation for all yoga poses.
To come into High Lunge:
- This time start by bringing awareness to your feet, and press the four corners of the feet on the floor
- From Mountain Pose, take a step back with one foot, and tuck the toes in the back of the mat
- Make sure both feet are facing the short side of the mat, and heel of the back foot is lifted up
- Keep the knee of the front leg bent, place it over the ankle with a 90-degree angle
- Keep the hip bones facing the front side of the mat, and back leg straight
- Pull the sacrum towards the floor and forward
- Pull the shoulder blades down and reach the arms reach up
- Now apply the same principle in Downward Dog and distribute your weight evenly between the feet
If you find it hard to stay stable, you can place the hands on your waist, keeping the attention on the legs and feet. If the pose is very intensive and tiresome for the legs, you can lower the back knee on the mat, and stay in the Low Lunge.
Would you like to learn more about finding stability in Standing Poses? Check out Ekhart’s (2013) Youtube video:
Always remember that building a pose from ground up is a process and takes time. We wish you a practice that you focus on merging steadiness with ease with the tips we shared!
Are there more poses you would like to explore? Reach us from our website or social media accounts!
References
Gudmestad, J. (2021, September 2). Hand-positioning tips to prevent injury in weight-bearing poses. Yoga Journal. Retrieved January 9, 2023, from https://www.yogajournal.com/poses/anatomy/hands-down/
Ekhart, E. (2013, April 8). Find stability and strength in your Standing Poses in Yoga. YouTube. Retrieved January 11, 2023, from Find stability and strength in your Standing Poses in Yoga
Madeo, C. (2021, January 23). Shoulders Explained in Downward Facing Dog. YouTube. Retrieved January 9, 2023, from Shoulders Explained in Downward Facing Dog
Saltonstall, E. (2021, December 3). 4 ways to protect hands and wrists in yoga. YogaUOnline. Retrieved January 9, 2023, from https://www.yogauonline.com/yoga-for-pain-relief/4-ways-protect-hands-and-wrists-yoga